All of the holidays are about to be here and guests will be arriving soon. So you always want your home that you have been sooo working hard on all year ready to shine! I am pumped to finally show off our new laundry room. Yes. . . laundry room, not usually the no. 1 go to stop for a party, but after this reno we are ready to throw a party that it’s done!!!
If you remember what this awful excuse for a laundry room looked like, you would be jumping for joy too that it is now an actual room!
{ The dreaded before. . . }
I am not sure who thought this cheap room divider was making the cut but I personally thought it was not living up to its potential.
The main issue of course is not have a separate laundry room from the kitchen. So a simple wall and a little Boston design flare and “Wahlah” I feel like we have a whole new house!
Check out the final product. . .
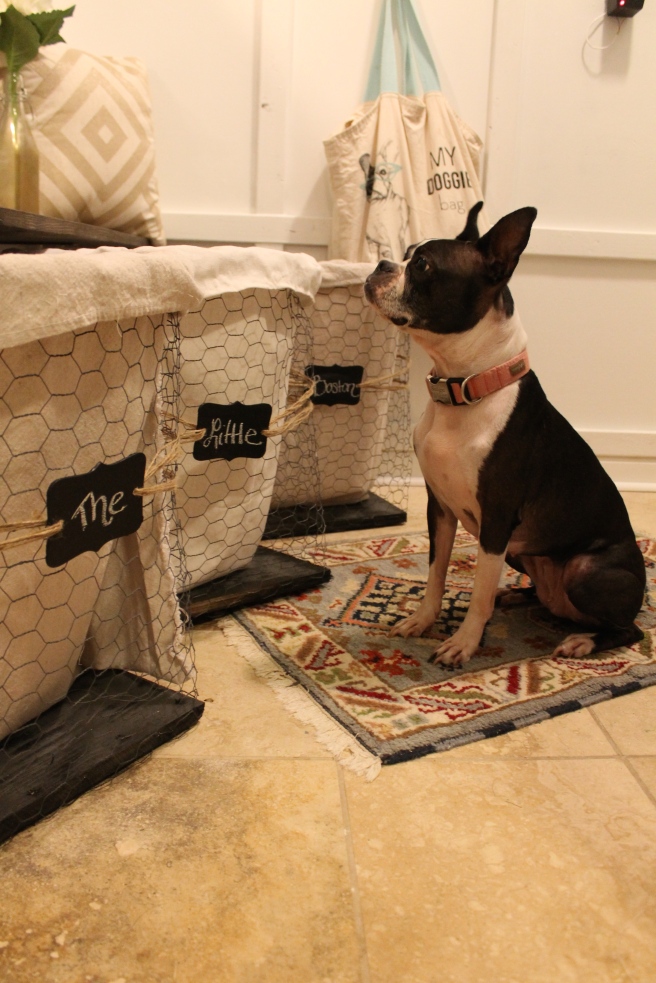
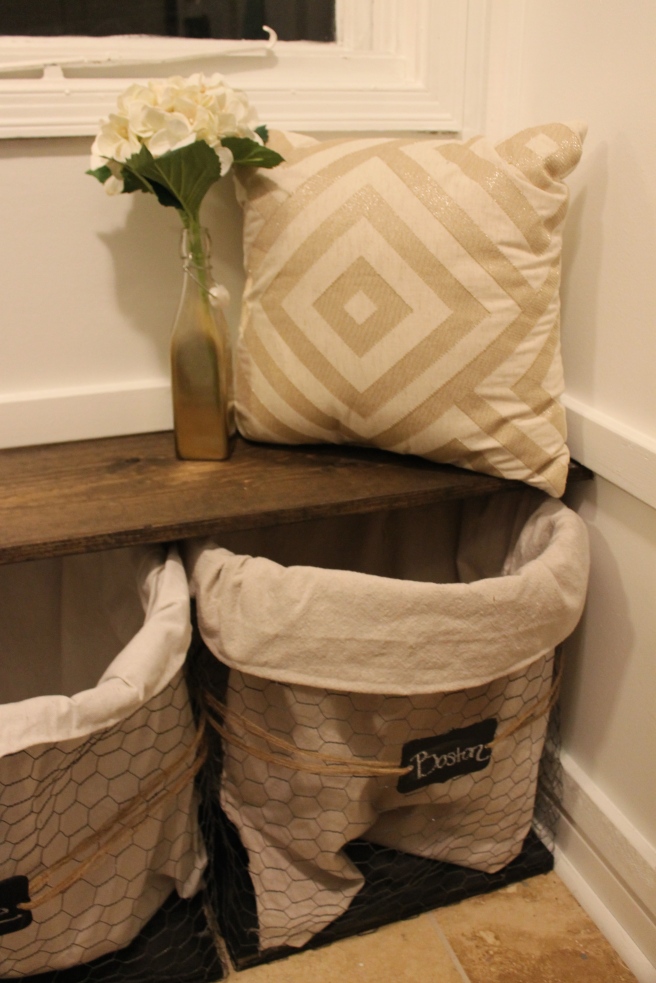
{ Happy dance because we’re finished!!! }{ Admiring our custom made laundry baskets }
{ Custom “art” from some TJ Maxx & Target finds }
Keepin it classy. . .
with some sleek back hardware
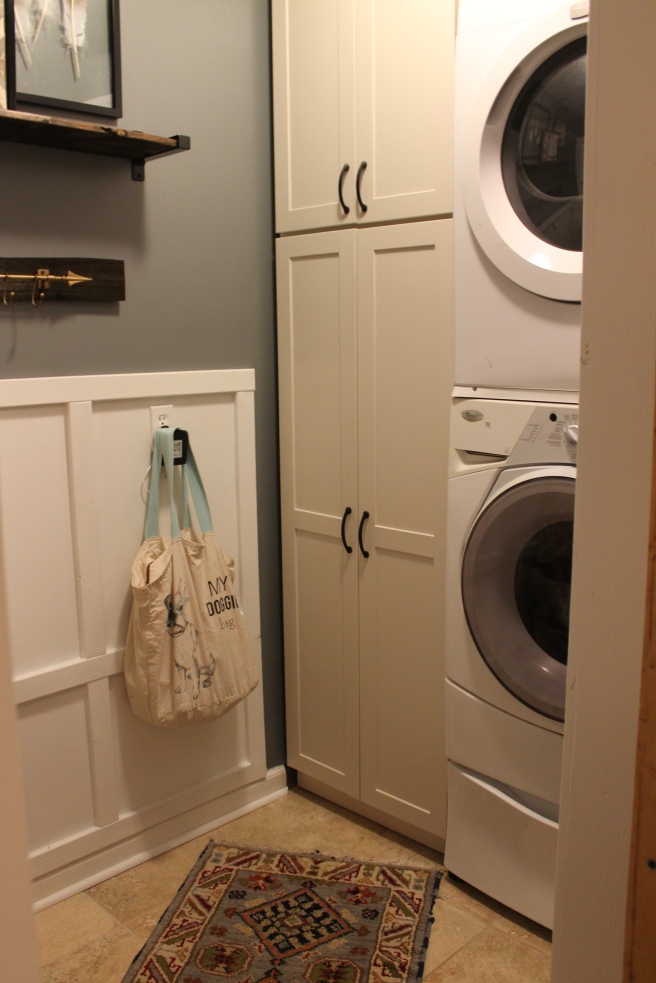
{ Keeping it classy with some sleek black hardware }
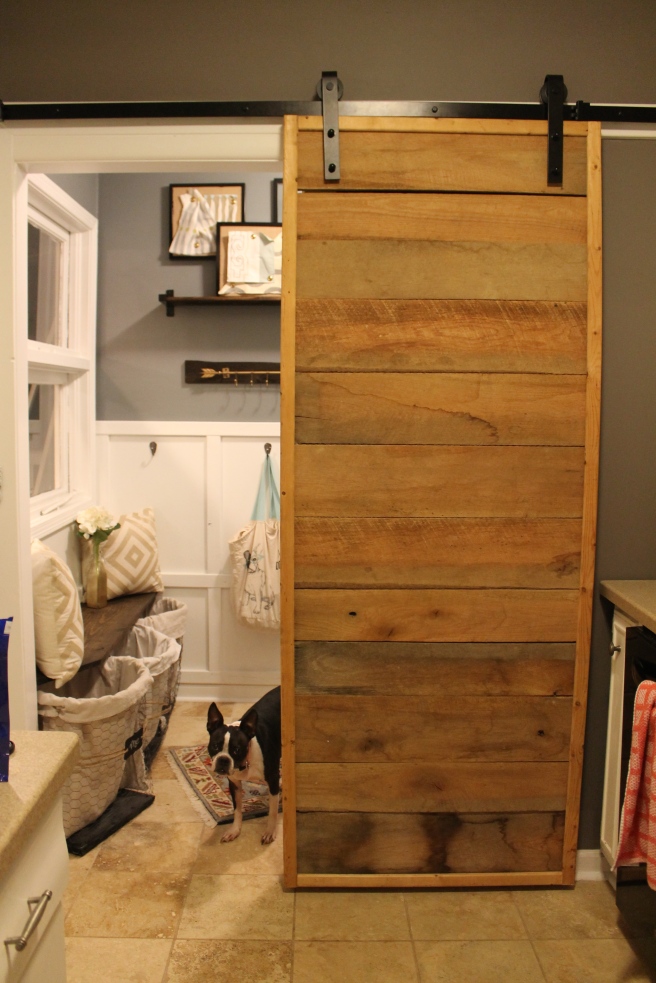
{ Best part is our whole new efficient layout with a custom painted storage cabinet & stacked washed & dryer }{ Cozy touches are a MUST in every room . . . even the laundry }{ My favorite touch is our custom barn door mom let me make with my own little paws }
The laundry room ended up so well. . . it made the kitchen look a lil boring. So naturally I had to paint that as well.
Don’t you love once you renovate one thing. . . it makes everything else look dull. A Boston’s work is never done so I will save that for another post.
But for now, I am no longer ashamed to have my puppy play dates over and show that I don’t have to wash my puppy bed while fixing my bowl of dog food in the same room. Makes me feel like we’re living in fur baby luxury!
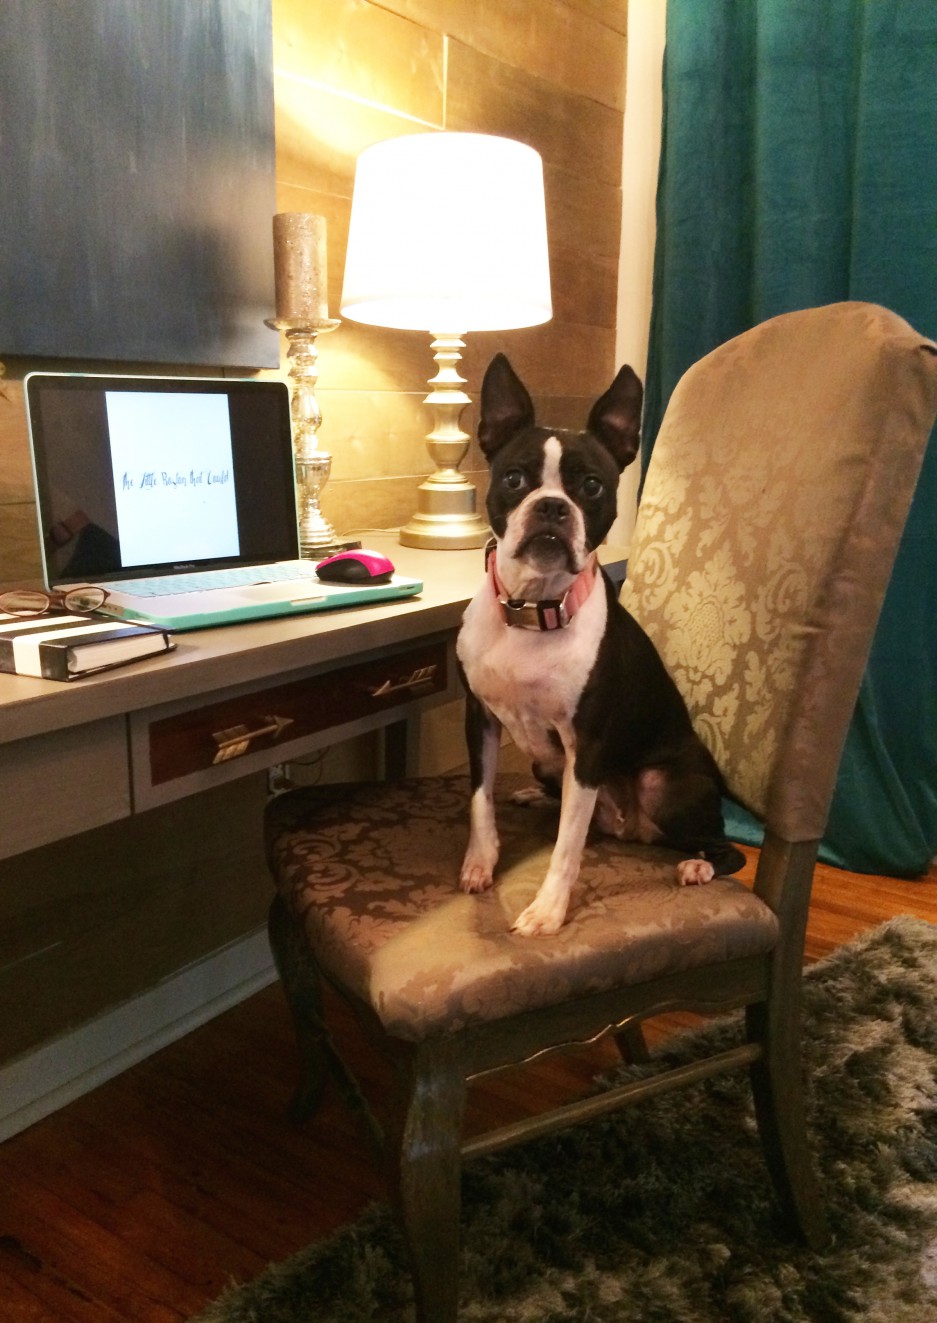
Saige here giving you a little insight into the life I live with my mom as we are remodeling our house DIY style. That means we are usually “Under Construction”. The moment I get a room all pulled together again, she is right behind me tearing something else up for her next project. She is worse at getting distracted than me with a squirrel.
Currently we are officially “Under Construction” in the Kitchen/ Laundry.
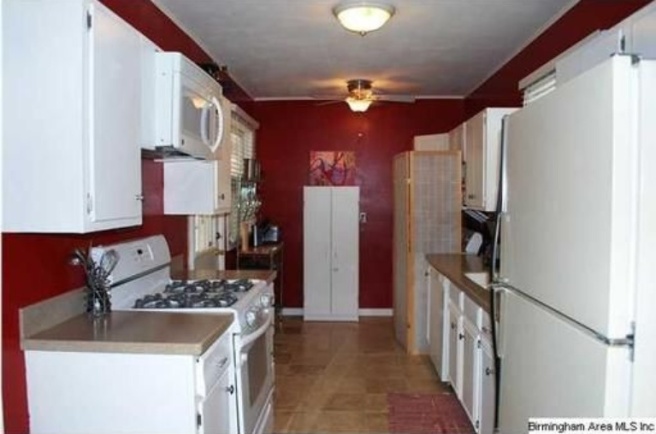
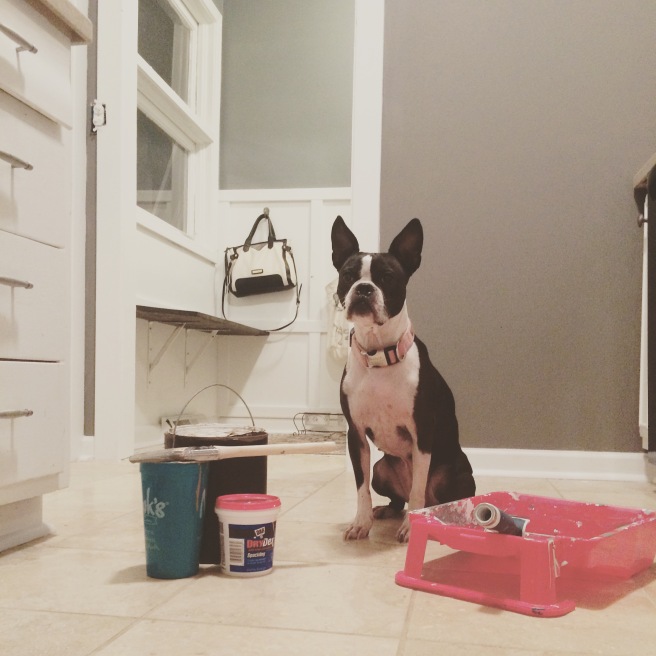
Does this drill make me look legit?You can see in the before photo of why this house was overlooked by potential buyers. . . you could cook your meals and wash a dog bed at the same time.
Before. . .
Convenient yes, but not an attractive looking feature. . . having your laundry on display in your kitchen. Our real estate agent stated that most people discounted this little gem of a fixer upper because of this easy fix. Not mom and I though, we knew a little bit of sheetroock and of course paint (ol red HAD to go!) could fix this problem!
So here was the plan: most price effective option was to simply add a wall. The spacing between the laundry & kitchen was perfect and the washer and dryer hook ups were already in this location. Construction budget tip: The more plumbing and electrical you can leave in the original position = the more cost effective.
Step 1: Build a wall. 2x4s went in and the framing began
Instant laundry room 2×4 LayoutNow I did frame up my own doggie room that my mom wanted to add under the stairs, but we were far from experts on this subject. So we welcomed some outside help on this part. Luckily my mom has a dad and grandfather, who got her hooked on all this home renovation stuff, that are willing to show up and teach us even more!
Checking my dimensionsWe even learned a very simple fact. We already knew a carpenters rule of thumb: Studs (2×4 framing) are to be placed every 16 inches, but we were clueless to this little trick: Tape measures usually highlight this dimension in red for convenience.
Don’t forget to leave a spot for the door. I of course had to have a barn door, so there will be a whole entire other post on that! But little side tip: When building small spaces, make sure you have a doorway wide enough to get what you need in and out. In this case: washer, dryer, and linen cabinet. Easiest way is to have them in the room first, before the walls get tight, but that’s not always an option. And you do have to think ahead for if and when they might need to be taken back out.
Step 2: Insulate
This will help reduce the noise from the washer and dryer, and now we can pretend they aren’t even there.
Do you think my dog fur would be good insulation??Step 3: Sheet rock!
My mom and I have learned quite a bit on this step since buying this fixer upper.
Starting to take shape!But do make sure you buy sheets tall enough to cover your height of the wall. Less cuts and aggregation. Unlike you are like us who thought “Yeah 8 ft sheets will be perfect”. . . They run a little short on an 8′-6″ high wall. Thats ok, because we’re used to being vertically challenged so we forged on. . .
Details on the Layout:
Getting efficient up in hereWe wanted to keep the washer and dryer on the wall where the current hook ups are, so that was an easy decision that determined the layout. Next we needed more storage. Mom scored this awesome linen cabinet for FREE from work. . . so we had to make it fit! With all that considered, and the tiny space we had to work with. . . the only solution was to stack the washer and dryer.
Easy solution: Dryer stacking kit my mom just bought on amazon.
Stack it up
Make sure you research the kit for your model and brand. Or if you’re like me and scored a heck of a deal on a washer and dryer from separate brands. . . a little retrofitting of where the screw holes go will need to be done. . . but nothing a little Boston can’t handle. So in this case mom made sure she bought the kit that matched the dryer and we just adjusted it on the washer. These washer/dryer vibration pads are also a good investment!
So as you can see we have a little further to go as it usually happens in DIY world. Using your own 4 paws and free labor will save A LOT! But it usually does not go as fast as hiring a pro. But I promise the satisfaction is worth it. So stay tuned so you can see the smile on my little doggie face as we wrap this puppy up.


 already knew a carpenters rule of thumb: Studs (2×4 framing) are to be placed every 16 inches, but we were clueless to this little trick: Tape measures usually highlight this dimension in red for convenience.


 scored a heck of a deal on a washer and dryer from separate brands. . . a little retrofitting of where the screw holes go will need to be done. . . but nothing a little Boston can’t handle. So in this case mom made sure she bought the kit that matched the dryer and we just adjusted it on the washer. These washer/dryer vibration pads are also a good investment!
